
In 2004, Facebook started out as a social-network for Harvard students, and 11 years onwards, it has managed to attract an unbelievably huge number of one billion daily users! But that path hasn’t been smooth, as Facebook has constantly fought a number of other social networks over the years like MySpace, Twitter, Google+, etc. and it has accomplished that with its ability to adapt and improve at a really fast-pace. Facebook is always improving and adding new and new features and although some of them end up to be quite controversial or gimmick-like, but a lot of them turn out to be genuinely useful. The problem is that in all the clutter, some of them end up getting lost and remain unused by the masses.
Here, we have compiled a list of 7 of the best genuinely useful features that most people don’t even know about,
1. Security
The private nature of social networks has forced Facebook to add a whole lot of security features and some of them are so useful, we recommend everyone to use them.
Login Alerts: Whenever your account is logged in from anywhere, Facebook will send you a notification. You can choose whether to be notified via a Facebook notification, mail, text message or all of them! Apart from just telling you that your account was logged in, it also tells you from which browser/app it was logged in and from which operating system.
- Go to your Security Settings.
- Click on Login Alerts and select the method of Notification.
Login Approvals: Not satisfied with just being notified? Well you can set up Facebook to send you a security code via text message each time you attempt to log-in from a new device. Alternatively, you can use the “Code Generator” on Facebook or save a set of codes for future use in case don’t have your phone with you.
- Go to your Security Settings
- Click on Login Approvals, add your information and choose a method.

2. Make Lists To Restrict A Group Of People
One quite underestimated feature of Facebook is Lists. If you want to share a photo or a post for only a specific group of people, then instead of selecting each and every one manually in the Privacy section of the post, simply make a list of people once like for “Family”, “School Friends”, “Work People”, etc. Now every time you want to share a post with a specific group of people, simply select those lists under “Share With” in the “Custom” section under Privacy.
If you want to share the post with everyone except a specific list, go to “Custom” again and this time, select the list under “Don’t share with”.
- To make a list, go to a friend you want to add into a list, click on the “Friends” button.
- In the popup that appears, click on “Add to another list”.
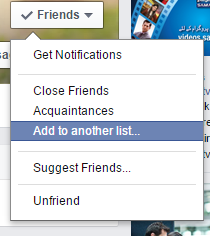
- Choose a list or scroll down to click on “New List” to create a completely new list.
- Once you have created a list, you can access it by clicking on “Friends” in the left menu bar on the Facebook home page.
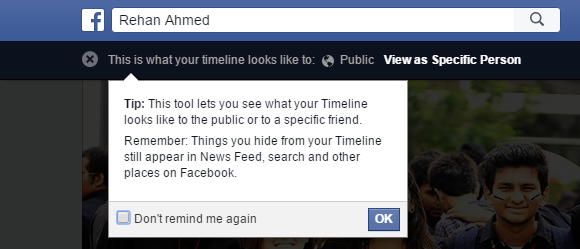
There’s also another useful little feature that lets you see your own Facebook Timeline as someone else. This comes in incredibly handy if, for example, you want to curate your Timeline so as to look decent and reasonable for a work-friend of yours.
- Go to your Facebook Timeline.
- Click on the three dots icon on your cover photo.
- Click on “View As” and it’ll give you a view of what a normal person who isn’t your Facebook friend will see. You can even type a name on the top text bar to view your timeline as a specific person.
3. Trusted Contacts
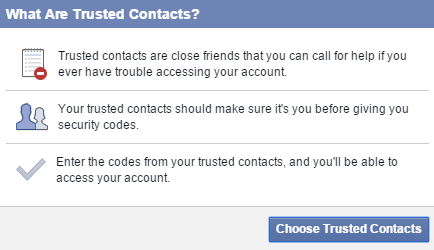
To add an extra layer of security, Facebook allows you to use 3-5 trusted contacts! So in case you ever lose access to your account, these friends can access a one-time special security code that will let you login to your account again.
- Go to your Security Settings.
- Click on the Trusted Contacts section
- Click Choose Trusted Contacts.
- Select 3-5 friends and confirm your choices.
4. Turn Off Specific Notifications
Candy Crush, FarmVille, Who’s your Crush, these are the main devils of the notification hell! Barely a day goes by without some friend sending you a notification about these apps, but what many people don’t know is that Facebook has a built-in feature that allows you to block notifications from any game/app/post/photo/person if you want to.
- Open Blocking Settings.
- Scroll down to Block Apps and search and select the apps you want to be blocked. It’s that simple!
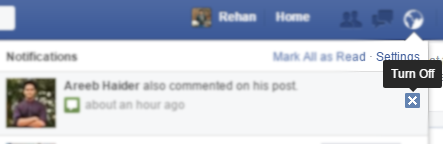
You can also block like/comment notifications from a specific post! Simply hover over a notification you received about a post and click on the small cross that appears on the right! Now, click “Turn Off”.
5. Save Posts for Later
Casually scrolling through your newsfeed and saw a long post that you really want to read but don’t have the time right now? This happens a lot of times with me and fortunately, Facebook now allows us to save posts to read them alter on.
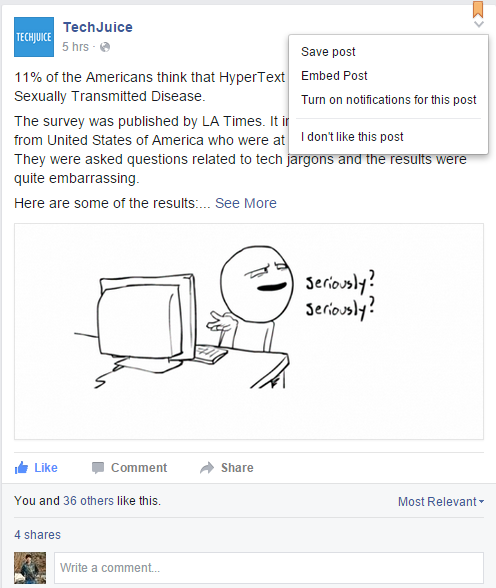
- Click/tap on the arrow icon on the top of any post you want to save.
- Hit “Save Post”.
6. Sync Events With Google Calendar
Birthdays are the darling of Facebook! The social network is the main reason we can remember the birthday of so many people, but one even more awesome feature is the ability to sync your Facebook events with Google Calendar. This also syncs all the birthdays!
- Go to Facebook Events.
- On the bottom right, click Upcoming Events to export all upcoming events or Birthdays to export all upcoming birthdays.
- Open Google Calendar.
- On the left, there will be an option for “Other Calendars”. Click on the arrow right next to it.
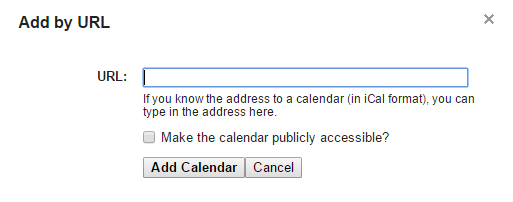
- In the popup that appears, click on “Add by URL” and paste the URL you copied from Facebook and click “Add Calendar”.
7. Archive All Your Facebook Data
Facebook even has a feature that allows you to download all your Facebook data and information, which can come in as really useful for some people, especially companies with important business information on their pages.
To access this option,
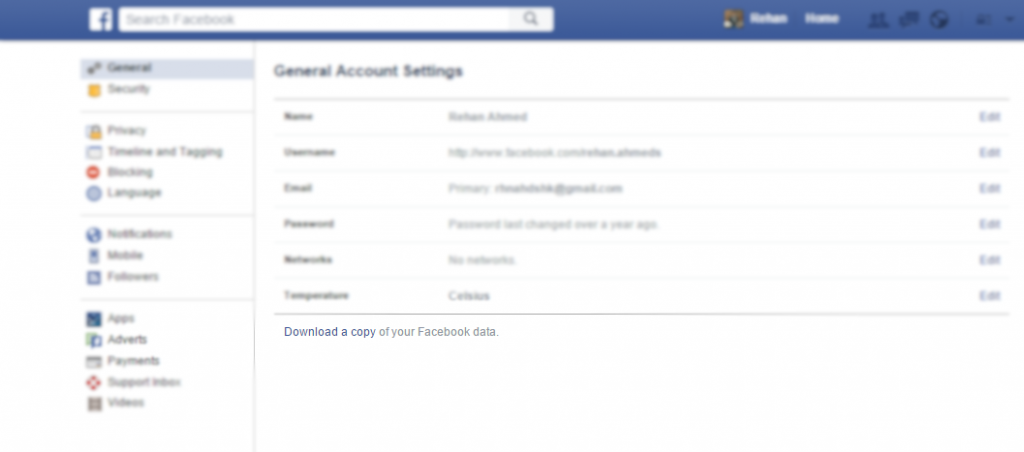
- Open Settings.
- In the General Tab, look at the bottom of the page, you’ll see an option to “Download a copy of your Facebook data”. Click on it and it’ll guide you through the process!


 Pepsi to make its own Android Phone