
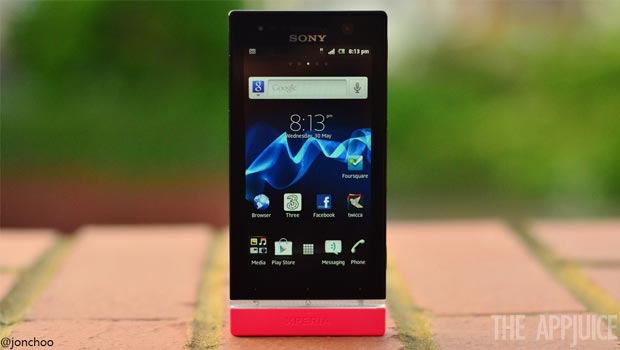
As we all know that Xperia U is a powerful smartphone that comes in a decent price and amazing specifications. In order to get more out of your Sony Xperia you are required to root your device. So if you own Xperia U and want more from Phone you should know how to first unlock Bootloader. After that you can Root Xperia U and install all kind of ROM’s it it.
UNLOCKING Bootloader
Unlocking Bootloader is a very simple method and it can be done within minutes.
How to enter into Bootloader? Power off your Phone, then press and hold the Volume up key and attach it with the PC, Your led bar will turn blue and your PC will start installing the USB Drivers.
If you’re not booting in the bootloader and your Blue light is turning off after 3 sec then Check Your Drivers Properly.
Requirements:
1. Xperia U
2. Data Cable
3. Charge it upto 60%
4. Download Android SDK package and extract it in the Directory C:/ (http://bit.ly/18EKM7s)
5. For Drivers Install Flashtool (http://bit.ly/1gdSLwq)
Step by Step Procedure:
1- Go to the Sony-mobile Dev Site (http://bit.ly/GEe5Oo)
2- Check Your phone either it can be unlocked or not by dailing *#*#7378423#*#*
3- In your device, tap Service info > Configuration > Rooting Status.
If Bootloader unlock allowed says Yes, then you can continue with the next step.
If it says No, or if the status is missing, your device cannot be unlocked.
4- Check Your IMEI by dialing *#06# , and note it somewhere.
5- On your computer, click Continue at the bottom of Sony-dev site to start the unlock bootloader process.
6- Enter Your IMEI Number and email ID there, ignore the last digit of the IMEI number.
7- You’ll receive a Unlock key shortly in your Inbox.
8- Open the Open a command window where You have extracted Android SDK Package. (Right Click in the Folder by pressing and holding shift button and open command window here)
9- Turn off your Phone, And enter into the Bootloader Mode.
10- Then, enter following command in the command window ” fastboot.exe -i 0x0fce getvar version” and you’ll recive a response back like 0.3 sec.It means your phone is connected properly.
11- Then enter following command ” fastboot.exe -i 0x0fce oem unlock 0xKEY ” in which replace the KEY with the unlock key you have received.
12- Hit enter and the bootloader should now be successfully unlocked.
Rooting Xperia U
Note: Your phone must be running Android Ice Cream sandwich, this method is only for Ics users, Gingerbread users first flash the Ics firmware.
Requirements
1- Charge Your Phone Upto 60%
2- Download & Install the Flash Tool As mentioned above.
3- Download the 6.1.1.B.10 kernel (http://bit.ly/GEeeRY)
4- Move the Downloaded kernel to the Directory where you have Installed Flash Tool.*For Example C:\Flashtool\Firmwares
5- Now Start the Flash tool, select the Flash mode by clicking on it and then select the Ics Kernel which you have downloaded.
6- After selecting kernel click OK, and A screen will pop-up saying Connect your phone.
7- Now this is Important Step now you have you Connect you Phone into Mode in which you can Flash the kernel,So power off your Phone and Power + Volume Down and then connect the USB cable while keeping your finger on the Volume Down button, until the transparent bar turns green. The phone will be recognized on Flashtool and the progress bar will appear.
It’s a very quick process hardly consuming 2 minutes of your time.
8- After it is complete, unplug and restart your phone.
Now your phone will power up with the 6.1.1.B.10 kernel.
Flashing Super User & CWM
1- Power On your Phone and Connect it with PC with Usb Debugging Mode on, Open Flashtool again and click on the icon with a ‘LOCK’ on it. A popup will appear with two options:
– .Superuser
– .SuperSu
2- Select Superuser and press OK.
3- Open the App Drawer on your phone and open the Backup & Restore application and select Restore and choose RootMe Recovery, Flashtool will reboot your phone 3 times.
4- After it has restarted, open your App Drawer and an app named ‘Superuser’ will appear.
So, Your phone is now rooted, Now you can enjoy installing different ROM’s. Keep watching this space as we will share more articles on how to install different ROMS on your Xperia U.


 ONDiGO – Android App of the month