Samsung Galaxy J5 Prime is a mid-tier smartphone released by Samsung quite recently. The smartphone belongs to one of the company’s most famous smartphone series and has been bought by a lot of people. Looking at the considerable demand of the smartphone, we decided to come up with a rooting guide for it.
The Samsung Galaxy J5 Prime runs Android (version 6.0 Marshmallow) out of the box and we all know about the customizability and open-source nature of the operating system. Inherently, the smartphone comes loaded with Samsung’s user interface TouchWiz UI. If you want to take the expert level control over your Android experience, then this guide is for you.
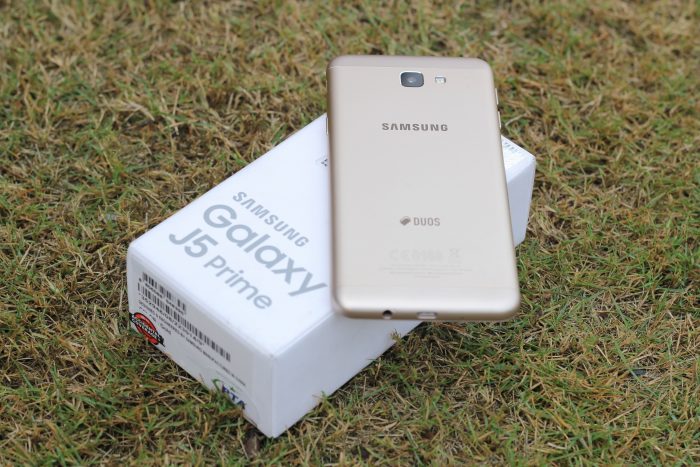
Also Read: Samsung Galaxy J5 Prime Review
We have already covered in detail what Android rooting really is. After introducing the concept, we moved on and introduced you to different rooting guides including those on the sibling smartphones of J5 Prime, the Samsung Galaxy J5, J7, J1. Today, we will be rooting your Samsung Galaxy J5 Prime (SM-G570F) running stock company OS, using the SuperSU package on top of a TWRP recovery.
Also Check: Updated Samsung Mobile Prices in Pakistan
Disclaimer: Rooting your Samsung smartphone will void its manufacturer’s warranty and you may damage your device. In case of any damage in any form, TJ is not to be held responsible in anyways. Proceed at your own risk.
Process:
1. Back-Up
The initial steps to rooting this smartphone too are quite standard. Although, the chances are less that you would loose your data and damage the device. But if you have some really important data stored on the smartphone, it is always wise to do a back-up. You can do the backup through the following:
- Either Transfer the data to your PC using data cable.
- The backups can also be done through Samsung Kies. It also gives you an added advantage with the drivers which you’d need later.
2. Download USB drivers for your samsung
Download the drivers and install them on your computer. It will help you connect your smartphone with your PC later.
You can either
- Download Samsung USB Drivers from here
- Download Samsung KIES (which comes with the drivers)
3. Enable USB debugging mode on your Smartphone
In order to enable the USB debugging mode follow these steps.
- Go to Settings on your smartphone
- Scroll down and find ‘Developer Options’ and tap there
- Enable USB debugging and OEM Unlocking
The Developer Options are unavailable the first time. So if you don’t see them, follow these steps to make the options visible.
- Go to Settings
- Scroll down till you see “About Device”. Tap there
- Tap on Build Number for 5-7 times to make the Developer Options visible
- Now follow the standard steps to enable USB debugging and OEM Unlocking
4. Downloading the package
If you already have the recovery installed, you can just skip this step and install SuperSU.
Downloading Odin:
- Download the Odin3
- Save the file on your PC and extract it.
Downloading TWRP Image:
Downloading SuperSU
- You can download it from here
Before you finally go on to the next step, make sure that your device has sufficient battery backup in it. Also, deactivate any anti-virus program in your computer so that it does not disturb the process.
5. Open your smartphone in Fastboot mode
Open your smartphone in Fastboot mode by following these steps.
- Make sure that your smartphone is not connected to any PC.
- Switch off your smartphone.
- Press and hold the Volume Down, Home and Power button simultaneously and then press the Power button till you see the warning screen.
- Press the Volume Up key to agree.
Once your device boots into the download mode, connect it to your computer using the original USB data cable.
6. Process on your PC
After connecting your device, open the folder where you extracted the Odin.
- Find the Odin3.exe and open it. You will see ‘Added’, and one of the ID:COM boxes will change color. This might take some time.
- Click on the ‘PDA/AP’ and browse to the recovery file that you downloaded earlier to flash on your phone. This would be the tar.md5 file.
- Check the Auto Reboot and F. Reset Time boxes.
- Click on the ‘Start’ button.
This will automatically reboot your smartphone into the recovery mode.
7. Installing SuperSU
After successful boot in the recovery mode, follow these steps:
- Connect your smartphone to the PC. And move the SuperSU file to the device’s internal memory.
- Disconnect your smartphone now.
- Turn it off
- Boot J5 Prime in recovery mode by simultaneously pressing Volume up, Home and Power buttons.
- In the menu, select Install.
- Browse to the SuperSU zip file and select it.
- Swipe to confirm and then install it.
After installation, you’d just need to go back and do reboot. After reboot, you can confirm if your device has correctly been rooted or not by looking for the SuperSU application in your application menu.
Want such a how-to rooting guide of any other phone? Just mention name of the smartphone in the comments section below and we will be more than happy to look into it.