In an effort to make privacy settings on its platform more transparent, Google has announced a new feature that allows users to set limits for how long the company can store the data it collects from users online activity.
Google in order to customize and improve the app experience for all users, collect information or data like user’s search history and other interactions in Google services. The stored data might also include the Chrome history and information from other websites and applications that use Google’s services, in case you have enabled that feature.
But not everyone is comfortable with the fact that Google is keeping a record of their online activity. With this new feature, you can choose certain settings for Google to automatically delete your data collected from web and app activity, after a time span of three or 18 months. Before this feature was announced, users had to manually delete their data from the Google app’s settings section.
The following steps will help you to locate this new feature and change the settings according to your desire.
- Log in to your Google account, click your profile photo in the top right corner of the Google homepage.
- Click on the “Data & Personalization” option on the left-hand column.
- Choose “Web & App Activity,” and then choose “Manage Activity.”
- Click on the “Choose to delete automatically” button.
- Select either “Keep for 18 months or for 3 months” depending on your preference. Your activity data will be deleted after the selected time period.
In case you are an Android user;
- Launch the Settings app and choose “Google”.
- Tap on the “Google Account” option.
- Choose “Data & Personalization.”
- Select “Web & App Activity.”
- Click on the “Manage activity” tab.
- Then select “Choose to delete automatically” and select a time limit of three months or 18 months.
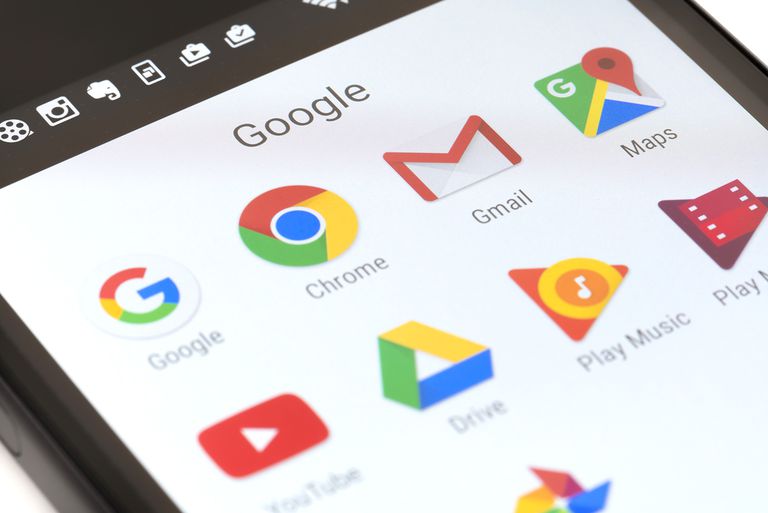
For iPhone users;
- Launch the Gmail app on your mobile
- Tap “Settings” option on the main menu. (You can also access this menu by tapping three horizontal lines stacked on top of one another in the top left corner).
- Tap on your email address at the top of the screen.
- Choose “Manage your Google account” option.
- Then select “Data & Personalization” and follow the same steps as mentioned above in the Android section.