One thing I like about Android is the way it can be customized. Today, I made my Android smartphone give an iOS-ish interface by installing a custom launcher. We have already been seeing different manufacturers coming up with their own versions of Android, introducing their own skins built on the top of the stock Android. Apart from installing custom launchers, users can gain better freedom by rooting their smartphone.
We, at TechJuice, have been striving to make this platform as a one-stop hub for all your Android rooting needs. We have already explained in detail what rooting really is. If you don’t have even a slightest of notion about it, make sure to get through our this writing for a deeper insight.
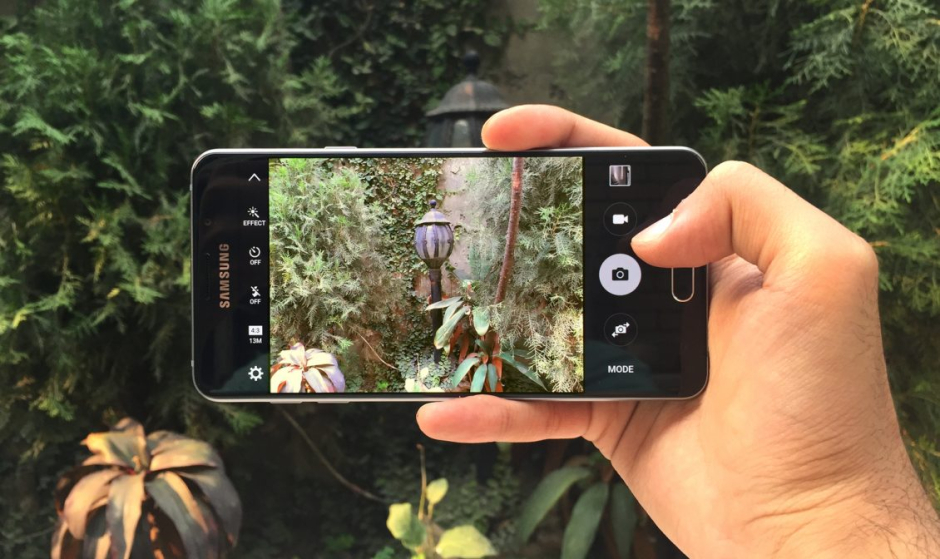
We have already been doing some rooting guides, today we would mainly be talking about rooting your Samsung Galaxy A7 (2016) running Android 5.1.1 Lollipop, using the SuperSU package on top of the TWRP custom recovery.
Before proceeding make sure that you have a custom recovery like ClockworkMod or TWRP Recovery installed on your Samsung Galaxy A7 (2016) before proceeding. If you don’t know how to install a custom recovery, let us know and we would be more than happy to do a writeup on how to install a custom recovery on this smartphone.
Disclaimer: Rooting your Samsung smartphone will void its manufacturer’s warranty and you may damage your device. In case of any damage in any form, TJ is not to be held responsible in anyways. Proceed at your own risk.
Process:
1. Back-Up
Although it isn’t expected that you would lose your data or damage the device, we would recommend you to do a back-up of the data stored on your smartphone.
You can either
- Copy all the data from you mobile to your SD card and remove it.
- You can also use your PC to back-up the data.
- You may also use the functionality of using Samsung Kies to back up the data.
2. Download USB driverS for PC
Download an install the USB drivers on your PC. This will help you when you would be connecting your smartphone with your PC.
Either
- Download Samsung USB Drivers
- Download Samsung KIES (KIES has the drivers as well)
3. Enable USB debugging mode on your smartphone
In order to enable the USB debugging mode, follow these steps.
- Go to Settings
- Scroll down and find ‘Developer Options’. Tap there
- Enable USB debugging and OEM Unlocking option
The Developer Options is invisible by default. If you don’t see it, make it visible by following these steps.
- Go to Settings
- Scroll down till you see “About Device”. Tap there
- Tap on Build Number for 5-7 times to make the Developer Options visible
- Now follow the aforementioned steps to enable USB debugging and OEM Unlocking
4. Download the root package for your smartphone
After going through the preliminary steps, you will be required to download the root package. Download SuperSU Root file for flashing.
After you have downloaded the file to your PC, without unzipping, move it to the SD Card root area(not in any folder). Disconnect your smartphone from the PC.
5. Open your smartphone in Recovery mode
After you have disconnected your smartphone from the PC, you can boot your smartphone into the Recovery mode. Follow through these steps.
- Switch off your smartphone.
- Press and hold the Volume Up and Power Button simultaneously.
6. Process on your mobile
After getting into the Recovery Mode you would need to do the following steps to flash the zip file you had in the SD card of your smartphone.
- Scroll down using volume buttons to “flash zip from SD card”.
- Press the Power button and select it.
- Press the Power button again to select “choose zip from SD card”.
- Using volume keys again, navigate to the BETA-SuperSU-v2.52.zip file that you have stored in earlier step.
- Select it using the Power button.
- Confirm the installation on the next screen.
After confirming the installation, wait for a few moments before the installation starts. After its completion, navigate the control back to the main recovery menu. You would be using the same volume keys to scroll and the power keys to select. Reboot your smartphone by selecting the “reboot system now“ option to boot automatically into the rooted version. You can confirm, if your device has the root access or not, by checking if SuperSU application is present in your application drawer.
Want such a how-to rooting guide of any other phone? Just mention name of the smartphone in the comments section below and we will be more than happy to look into it.